TBS Smart Audio Unify Nano Channel Settings
Apr 5 2018
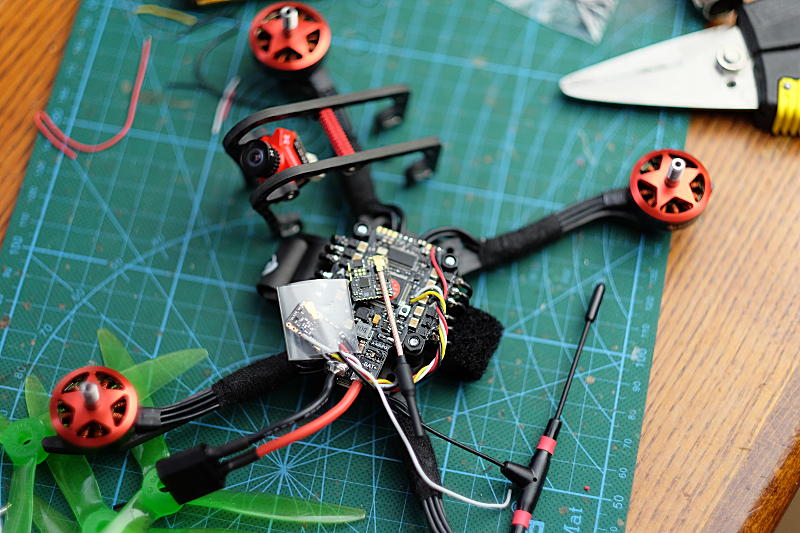 Rotorama Samurai running TBS Nano Unify & Crossfire
I never felt the need to use the smart audio connection to the flight controller to set VTX channels, because changing the channel meant losing the control display and required you to fiddle with the receiver in sync. But as I got the new TBS Unify Nano VTX, the need to actually solder the tiny button onto the board meant that I would have to investigate. Luckily TBS have enabled smart audio support in their receivers as well, so you can actually set the VTX channels in the transmitter or OpenTX radio using the LUA script.
The process is simple, but it’s worth mentioning all the steps required, because I haven’t been able to see this documented anywhere:
-
Apart from connecting channels 1 and 2 to the FC’s UART RX and TX pins, run CH4 to the fullsize Unify audio pin. When using the Unify Nano, the pin is labeled smart audio and is on the top edge of the side pins, looking at the UFL antenna side.
-
Once connected, in the receiver configuration (LUA script or the fullsize TX back panel), select ‘Smart Audio’ for CH4. From then on, the receiver menu should include options for setting the band, channel and power output. Do note that the power settings are fixed to the Unify HV, so setting the power to 200mW will actually be 50mW on the Nano VTX. I’m not sure why, but you can’t connect the devices on CH3, the configuration would only allow ‘Smart Audio’ on CH4.
A tip for soldering wires onto the Unify Nano — you want to place the wires perpendicularly to the board to make them lie nicely on the pad surface and bend the wires after soldering. Enjoy the best VTX configuration out there!